
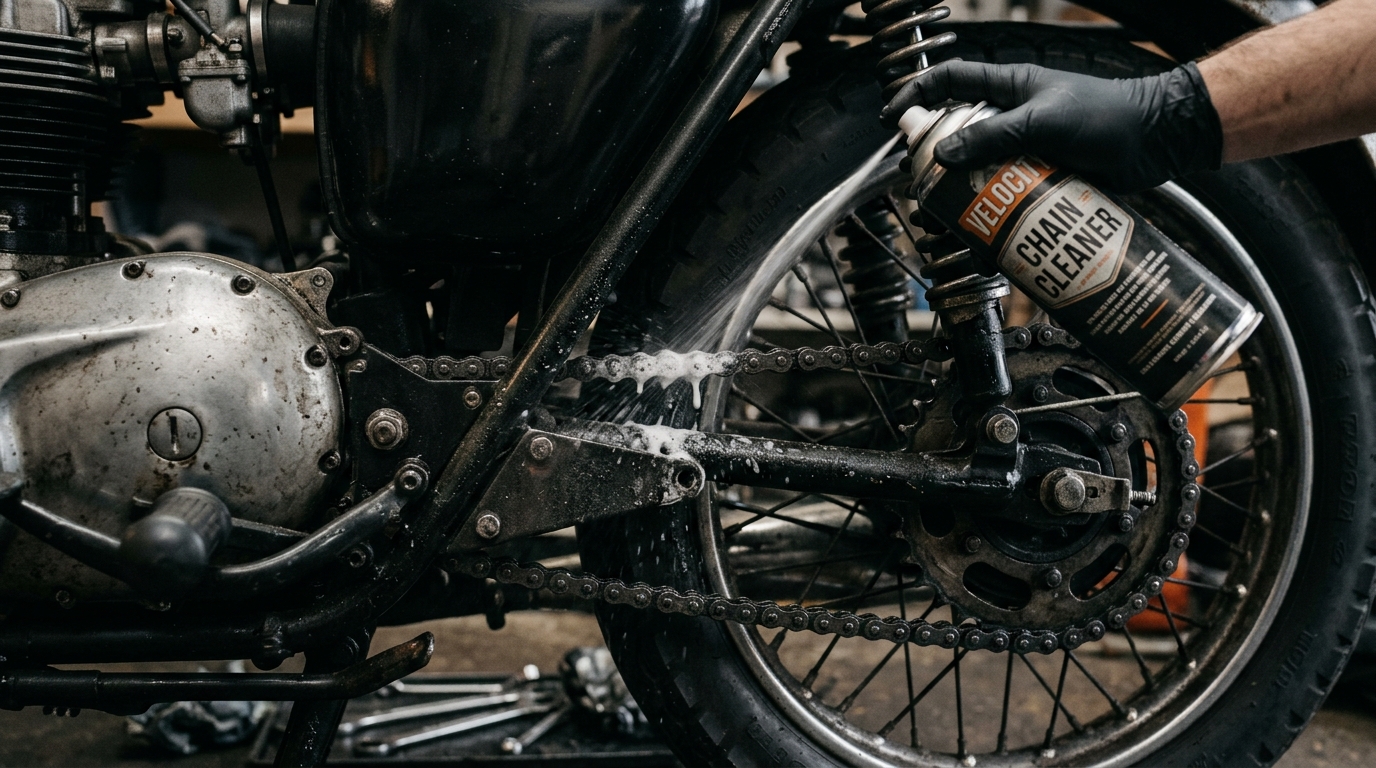
Your motorcycle's final drive chain is responsible for transferring engine power from the front transmission sprocket to the rear wheel. Operating in an open, unsealed environment, the chain is continuously subjected to road dust, sand, rainwater, and asphalt grime. As you ride, road debris binds with fresh lubricant, creating an abrasive grinding paste that eats away at chain rollers, internal pin bushings, and sprocket teeth. Neglecting regular chain care leads to horsepower loss, harsh gear shifts, excessive noise, and premature chain-sprocket replacement.
A poorly maintained chain also stretches unevenly, creating tight and loose spots along its length. In extreme cases, a neglected chain can jump off the sprocket teeth or snap under hard acceleration. A snapped chain at speed can lock up the rear wheel, crack the engine crankcase, or cause a serious accident. Routine maintenance every 500 to 700 km will double your drivetrain's lifespan, saving you thousands of rupees.
Understanding O-Ring, X-Ring, and Non-O-Ring Chains
Before cleaning your chain, it is essential to identify its construction type. Modern motorcycles above 125cc come equipped with O-ring or X-ring sealed chains. These feature tiny rubber seals sandwiched between the inner and outer side plates. These rubber rings seal factory-applied synthetic grease around the internal pins while keeping moisture and dirt out.
Standard commuter motorcycles (such as the Hero Splendor or Bajaj Platina) utilize non-O-ring unsealed chains housed inside full metal chain covers. Sealed O-ring chains require specialized care: using harsh solvents like gasoline, diesel, or brake cleaner will cause the delicate rubber O-rings to swell, crack, and dry out, causing internal grease to leak out and destroying the chain. Always use dedicated, O-ring-safe aerosol chain cleaners or clean kerosene.
Step-by-Step Chain Maintenance Routine
Perform this three-step cleaning, lubrication, and adjustment routine every 500 km or after riding in heavy rain:
- 1. DEEP CLEANING: Place your motorcycle on its center stand or a rear paddock stand on level ground. Ensure the engine is switched off and the transmission is in neutral. (NEVER run the engine in gear while cleaning the chain by hand, as fingers can get caught in the sprocket). Spray an O-ring-safe chain cleaner (such as Motul C1 or Kangaroo Cleaner) liberally along the entire chain length. Allow the solvent to penetrate for 3 to 5 minutes to break down hardened sludge. Use a specialized three-sided chain grunge brush to scrub the top, bottom, and side plates. Flush away the loosened debris with a final light spray, then wipe the chain completely dry using a clean microfibre cloth.
- 2. PRECISION LUBRICATION: Allow the chain to dry for 10 minutes. Rotate the rear wheel backward by hand while spraying a dedicated sticky chain lube (such as Motul C2 or Castrol Chain Lube) directly onto the inside run of the chain. Aim the nozzle at the inner rollers and side plate gaps where the O-rings are located. Avoid spraying the outer side plates or brake disc rotors. Once applied, let the lubricant set for 20 to 30 minutes so the carrier solvents evaporate, leaving behind a tacky film that won't sling off onto your rear tire.
- 3. SLACK MEASUREMENT & ADJUSTMENT: Measure chain slack at the midpoint between the front and rear sprockets on the bottom chain run. Push the chain up and down; standard slack should measure between 25mm and 35mm. If the chain sags beyond 40mm, loosen the main rear axle nut with a ring spanner. Turn the left and right swingarm tensioner bolts clockwise by equal turns, aligning the notch marks on both sides of the swingarm to keep the rear wheel straight. Tighten the rear axle nut to the recommended torque specifications.
Diagnosing Worn Sprockets & Replacement Signs
Even with regular lubrication, drive chains and sprockets wear out over time. Inspect your drivetrain for these critical wear indicators:
- Shark-fin Tooth Wear: As sprockets wear down, the teeth become hooked and pointed like shark fins instead of having symmetrical U-shaped valleys.
- Kinked Links: Stiff or frozen chain links that remain bent as they pass around the sprockets indicate seized pins caused by dry O-rings.
- Chain Stretch Beyond Adjustment: If the rear axle tensioner block is pulled all the way back to the final swingarm mark and the chain remains loose, the chain has stretched beyond safe limits.
- Sprocket Pull Test: Try pulling the chain backward off the rearmost point of the rear sprocket. If you can lift the chain enough to reveal half a sprocket tooth, the chain and sprockets must be replaced as a set.
Always replace both the front sprocket, rear sprocket, and chain together as a matched kit. Installing a new chain on worn sprockets will ruin the new chain within a few hundred kilometers. If you lack paddock stands or tensioning tools at home, book a doorstep chain-sprocket service with FixWheel for professional on-site replacement.
Comments0